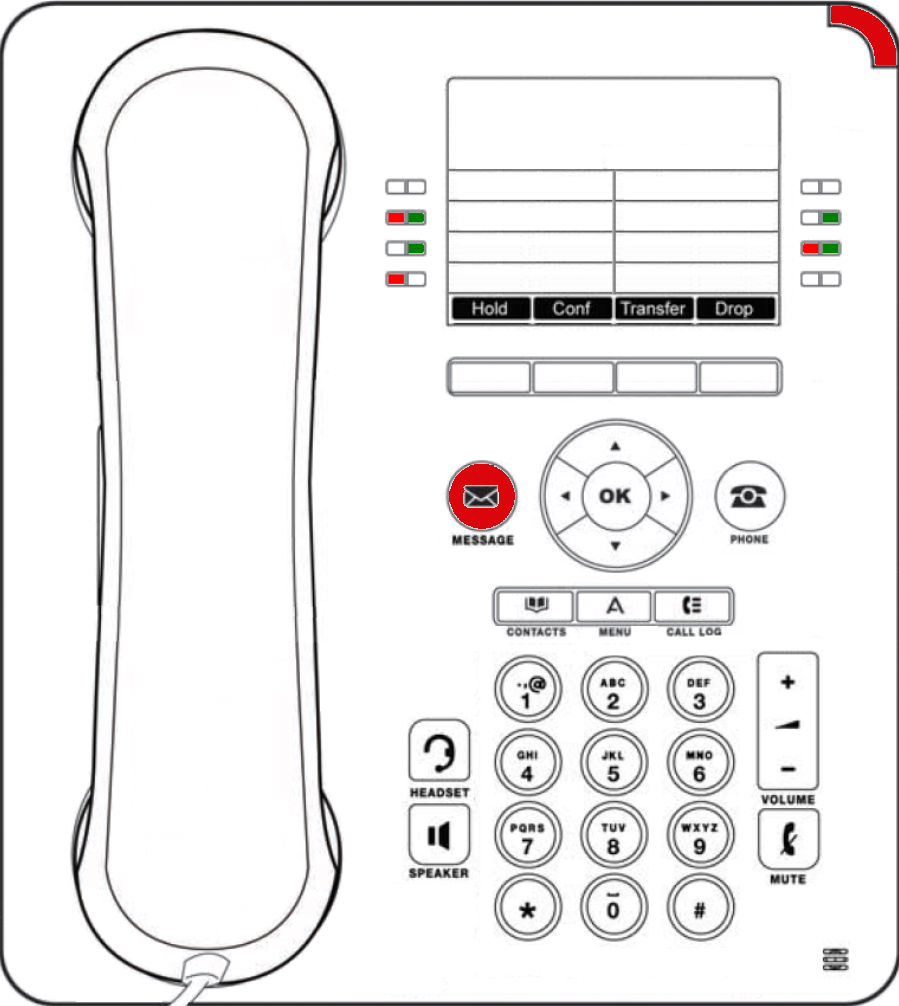
A red light indicator will show on the mail icon and at the top right of the phone when you have a new voicemail.
Voicemail Quick Reference Guide:
Play-Back Controls:
|
Activity Menu:
General Tips:
|
Check Messages from your Office Phone/Extension or another extension on campus.
|
Check Messages from Off Campus:
|
Creating Voicemail Password
1. Pick up the handset and Press Message key.
2. If you are dialing from your own extension, press #. Otherwise enter your extension number and press #
3. Press #. You will be asked to enter a new password.
4. Enter a new password and press #.
- Your password cannot be the same as your extension number or a set of repeated digits or consecutive numbers. (ie 123456 or 999999)
5. Re-enter the new password and press #. You can change the password again at a later date.
6. Record your name when you are prompted. You can record your name again at a later date.
7. Press 1 and at the tone, speak your name.
8. Press 1 again. Your recording is played back.
9. Either press # to accept the recording or 1 to record again.
10. After you log in, the voice prompts tells you what to do.
- A summary of many of the options is given in Summary of Mailbox Options .
- Press *4 for help at any time.
- Press *7 to return to the activity menu.
Press # at the end of a menu to return to the previous menu.
If you need your password reset please put in a workorder
Personal Greeting
1. Log in to your mailbox.
2. Press 3 to select personal greetings. If you have selected any call types, you hear an announcement that lists the call types and the greeting assigned to that call type. For example you would hear “For internal calls greeting 1 active”.
- If the temporary greeting is active you hear an announcement that details the number of days that the temporary greeting is active for. Press 1 to deactivate the temporary greeting.
3. Press 1 to create or change a greeting.
4. Enter the number of the greeting (1 to 9) that you want to create or change.
5. Start speaking your greeting at the tone.
6. When you have finished press 1 to edit your greeting.
7. Press 2 3 to play back the greeting that you have just recorded.
8. Press # to confirm the recording. The number of the greeting that has just been recorded is announced. If you want to add to the recording, press 1. Start speaking the extra words, press 1 when finished.
9. Press # to save the recording and not make active.